The nice folks over at GitHub (or the evil Microsoft empire, depending on your point of view) recently added me to the GitHub Actions beta. If you're unfamiliar with GitHub Actions it's their Continuous Integration (CI) & Continuous Deployment (CD) pipeline or to quote from the feature page:
GitHub Actions makes it easy to automate all your software workflows, now with world-class CI/CD. Build, test, and deploy your code right from GitHub.
That sounds pretty shiny so I thought I'd try it out with a little side project I have that's built with Flutter. The app I'm going to set up is Fructika which is an iOS/Android app originally built for people suffering from Fructose Intolerance that lets users look up the fructose, and other sugar, content of common foods. As a general rule I like to start by doing an absolute minimum 3 things as part of my CI:
- Build the code - Make sure the code at least compiles.
- Run static analysis on the code - Do some basic checks on the quality of the code e.g. linter.
- Test the code - Run any unit/widget tests.
This is the story of how I got those three steps up and running and if you follow along you can to.
A quick introduction to Actions, Steps, Jobs & Workflows
These are the fundamental building blocks when working with GitHub Actions so here's a quick introduction:
- Action - The smallest building block for GitHub Actions you can create your own, shared from the community or customize public actions.
- Step - The next level up a Step can run Actions or CLI commands.
- Job - Runs one or more Steps sequentially or in parallel on a Virtual Machine (VM).
- Workflow - Made up of one or more Jobs and defined as a YAML file stored in the
.github/workflowsdirectory of your repo.
And now without further ado let's get started.
Build the code
Actions show up as an extra tab in your repository.
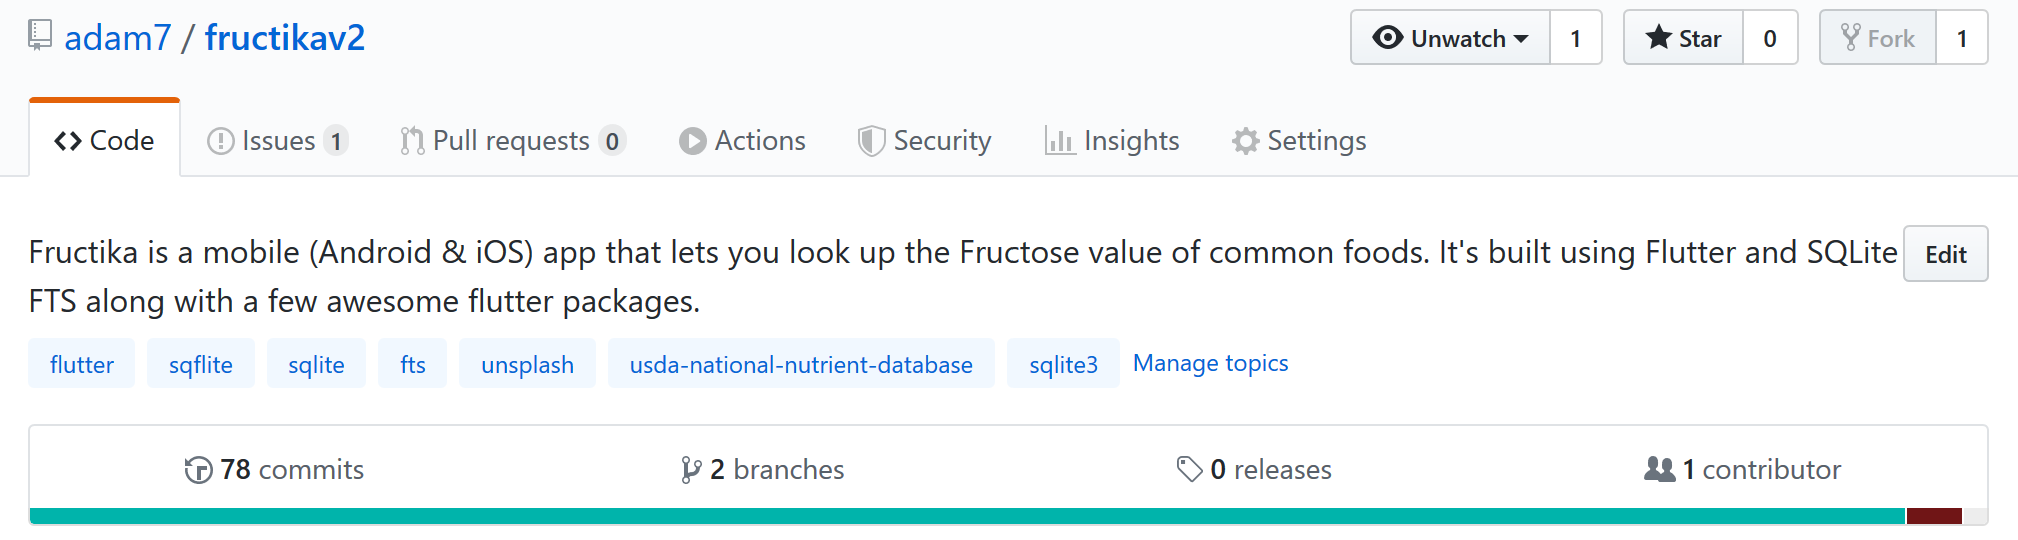
When you click on that tab you'll be presented with a screen that looks like this.
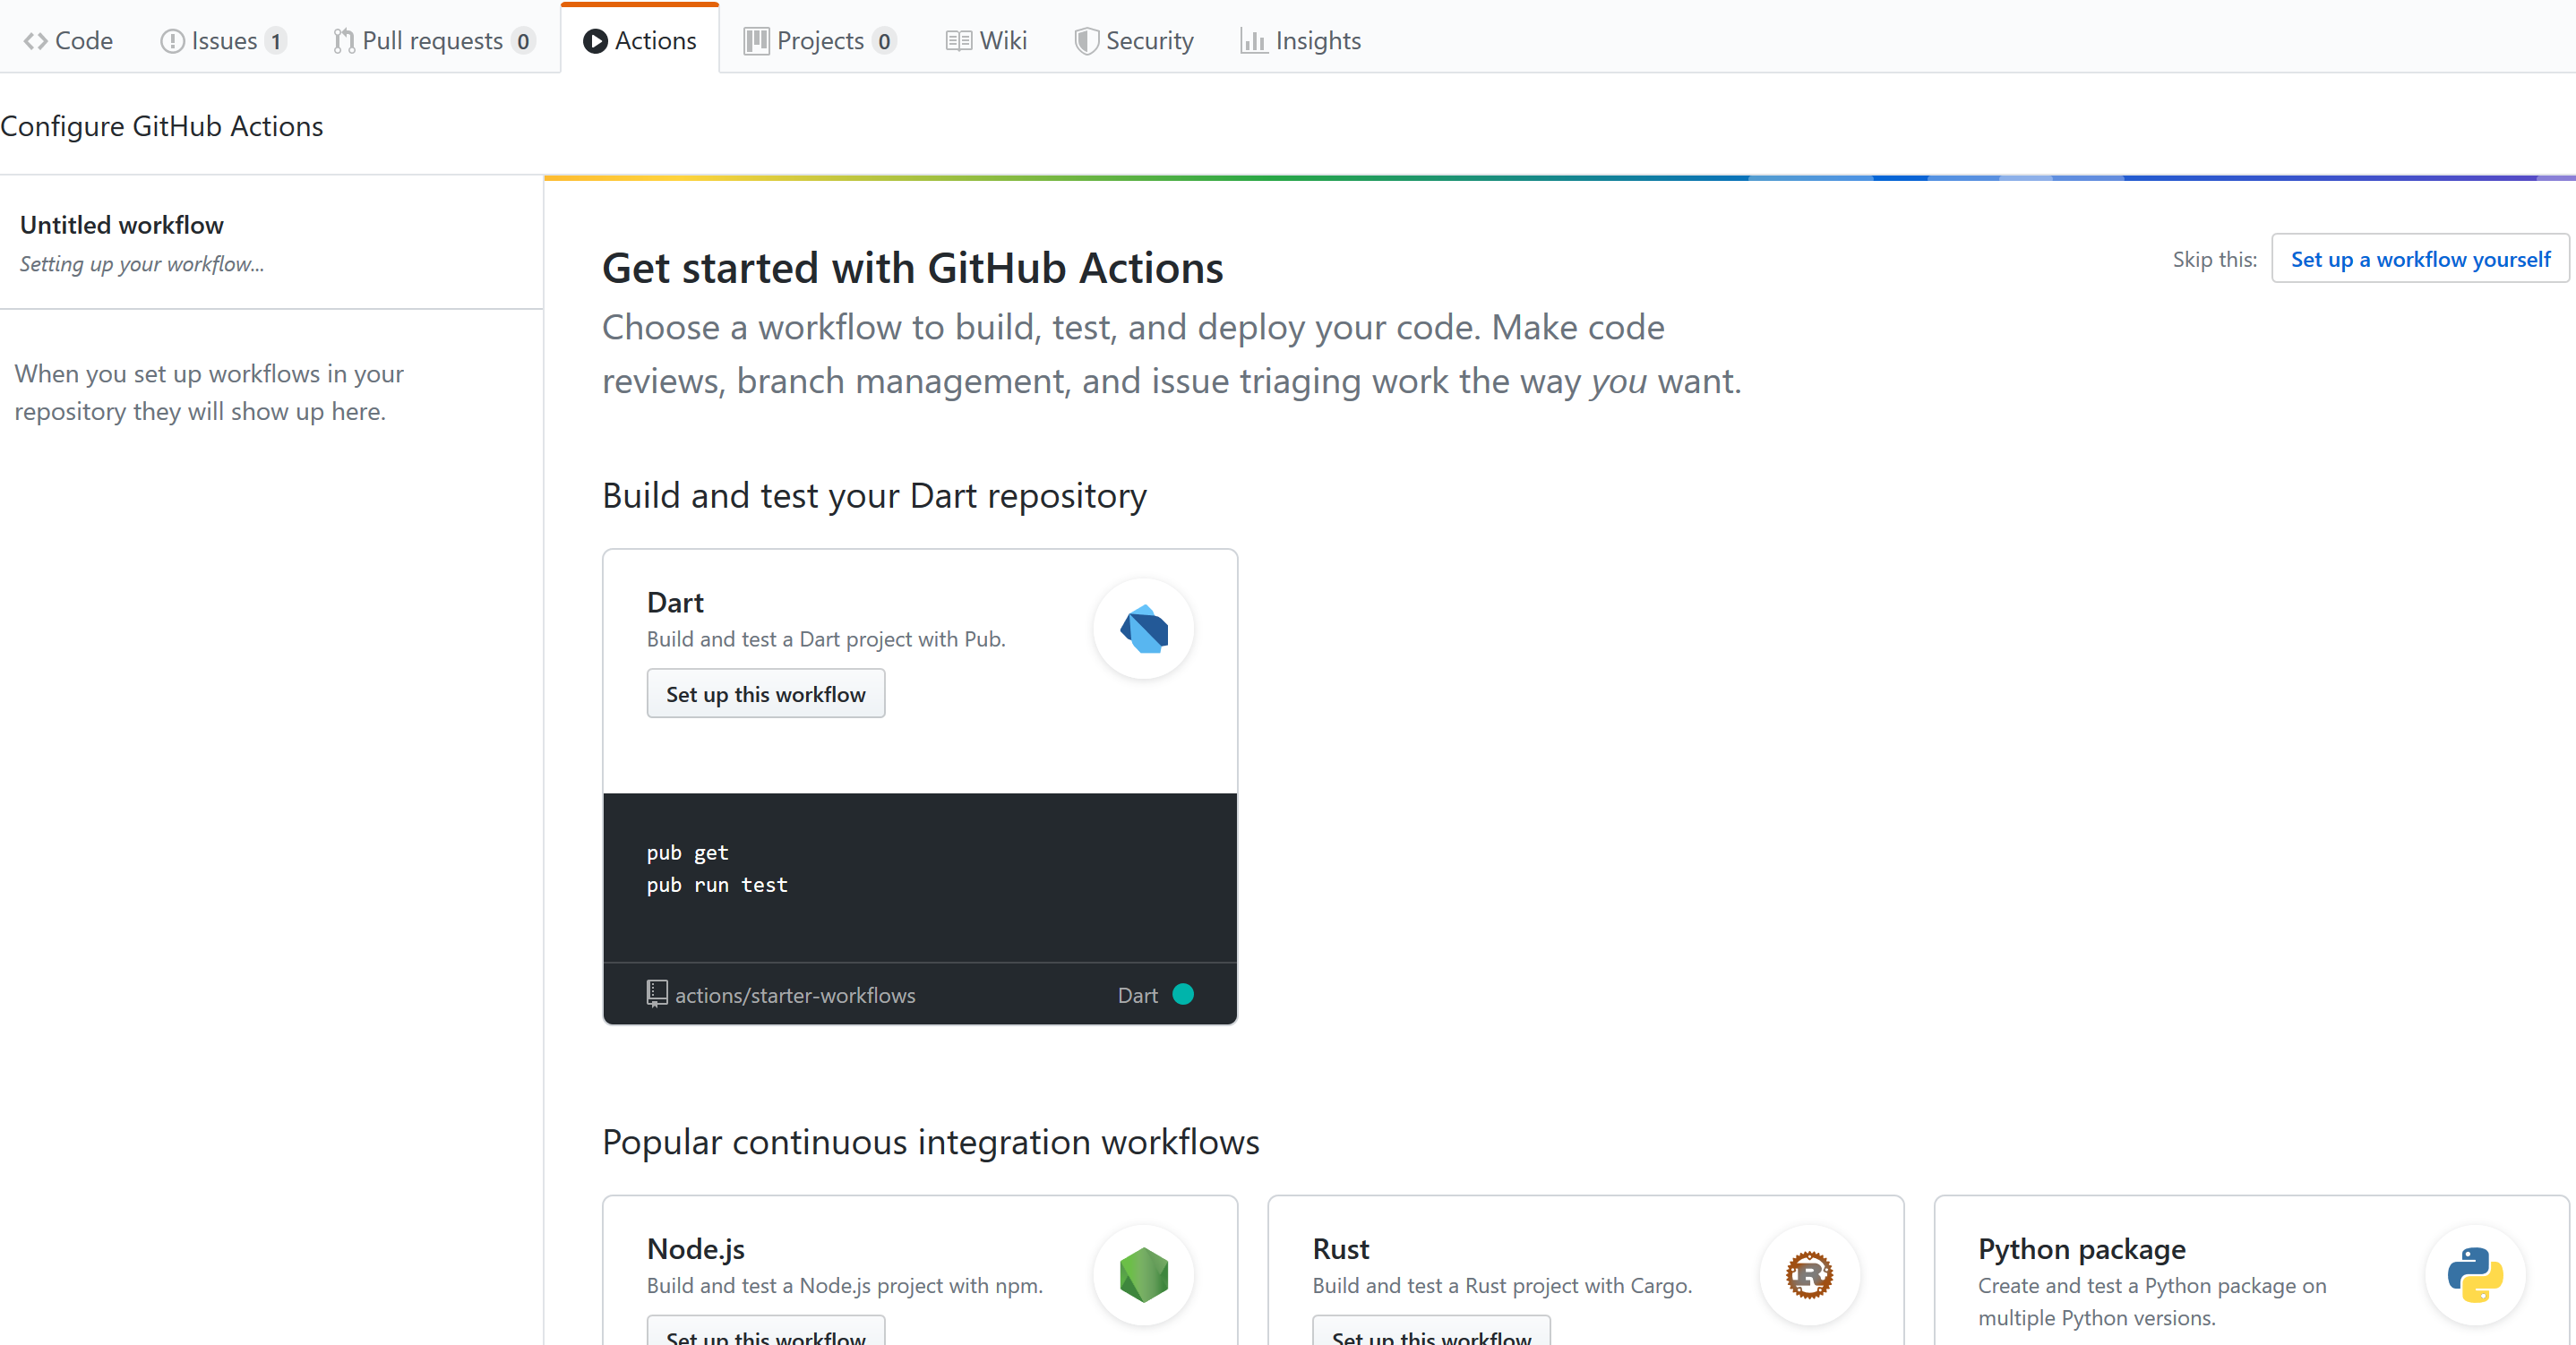
And you'll probably be dissapointed since although Flutter is built with Dart it's not a Dart project and if you try and Set up this workflow it will, unsurprisingly, fail. So instead let's click on the Set up a workflow yourself link in the top right which drops us into the standard GitHub yml editor so we can create our own workflow.
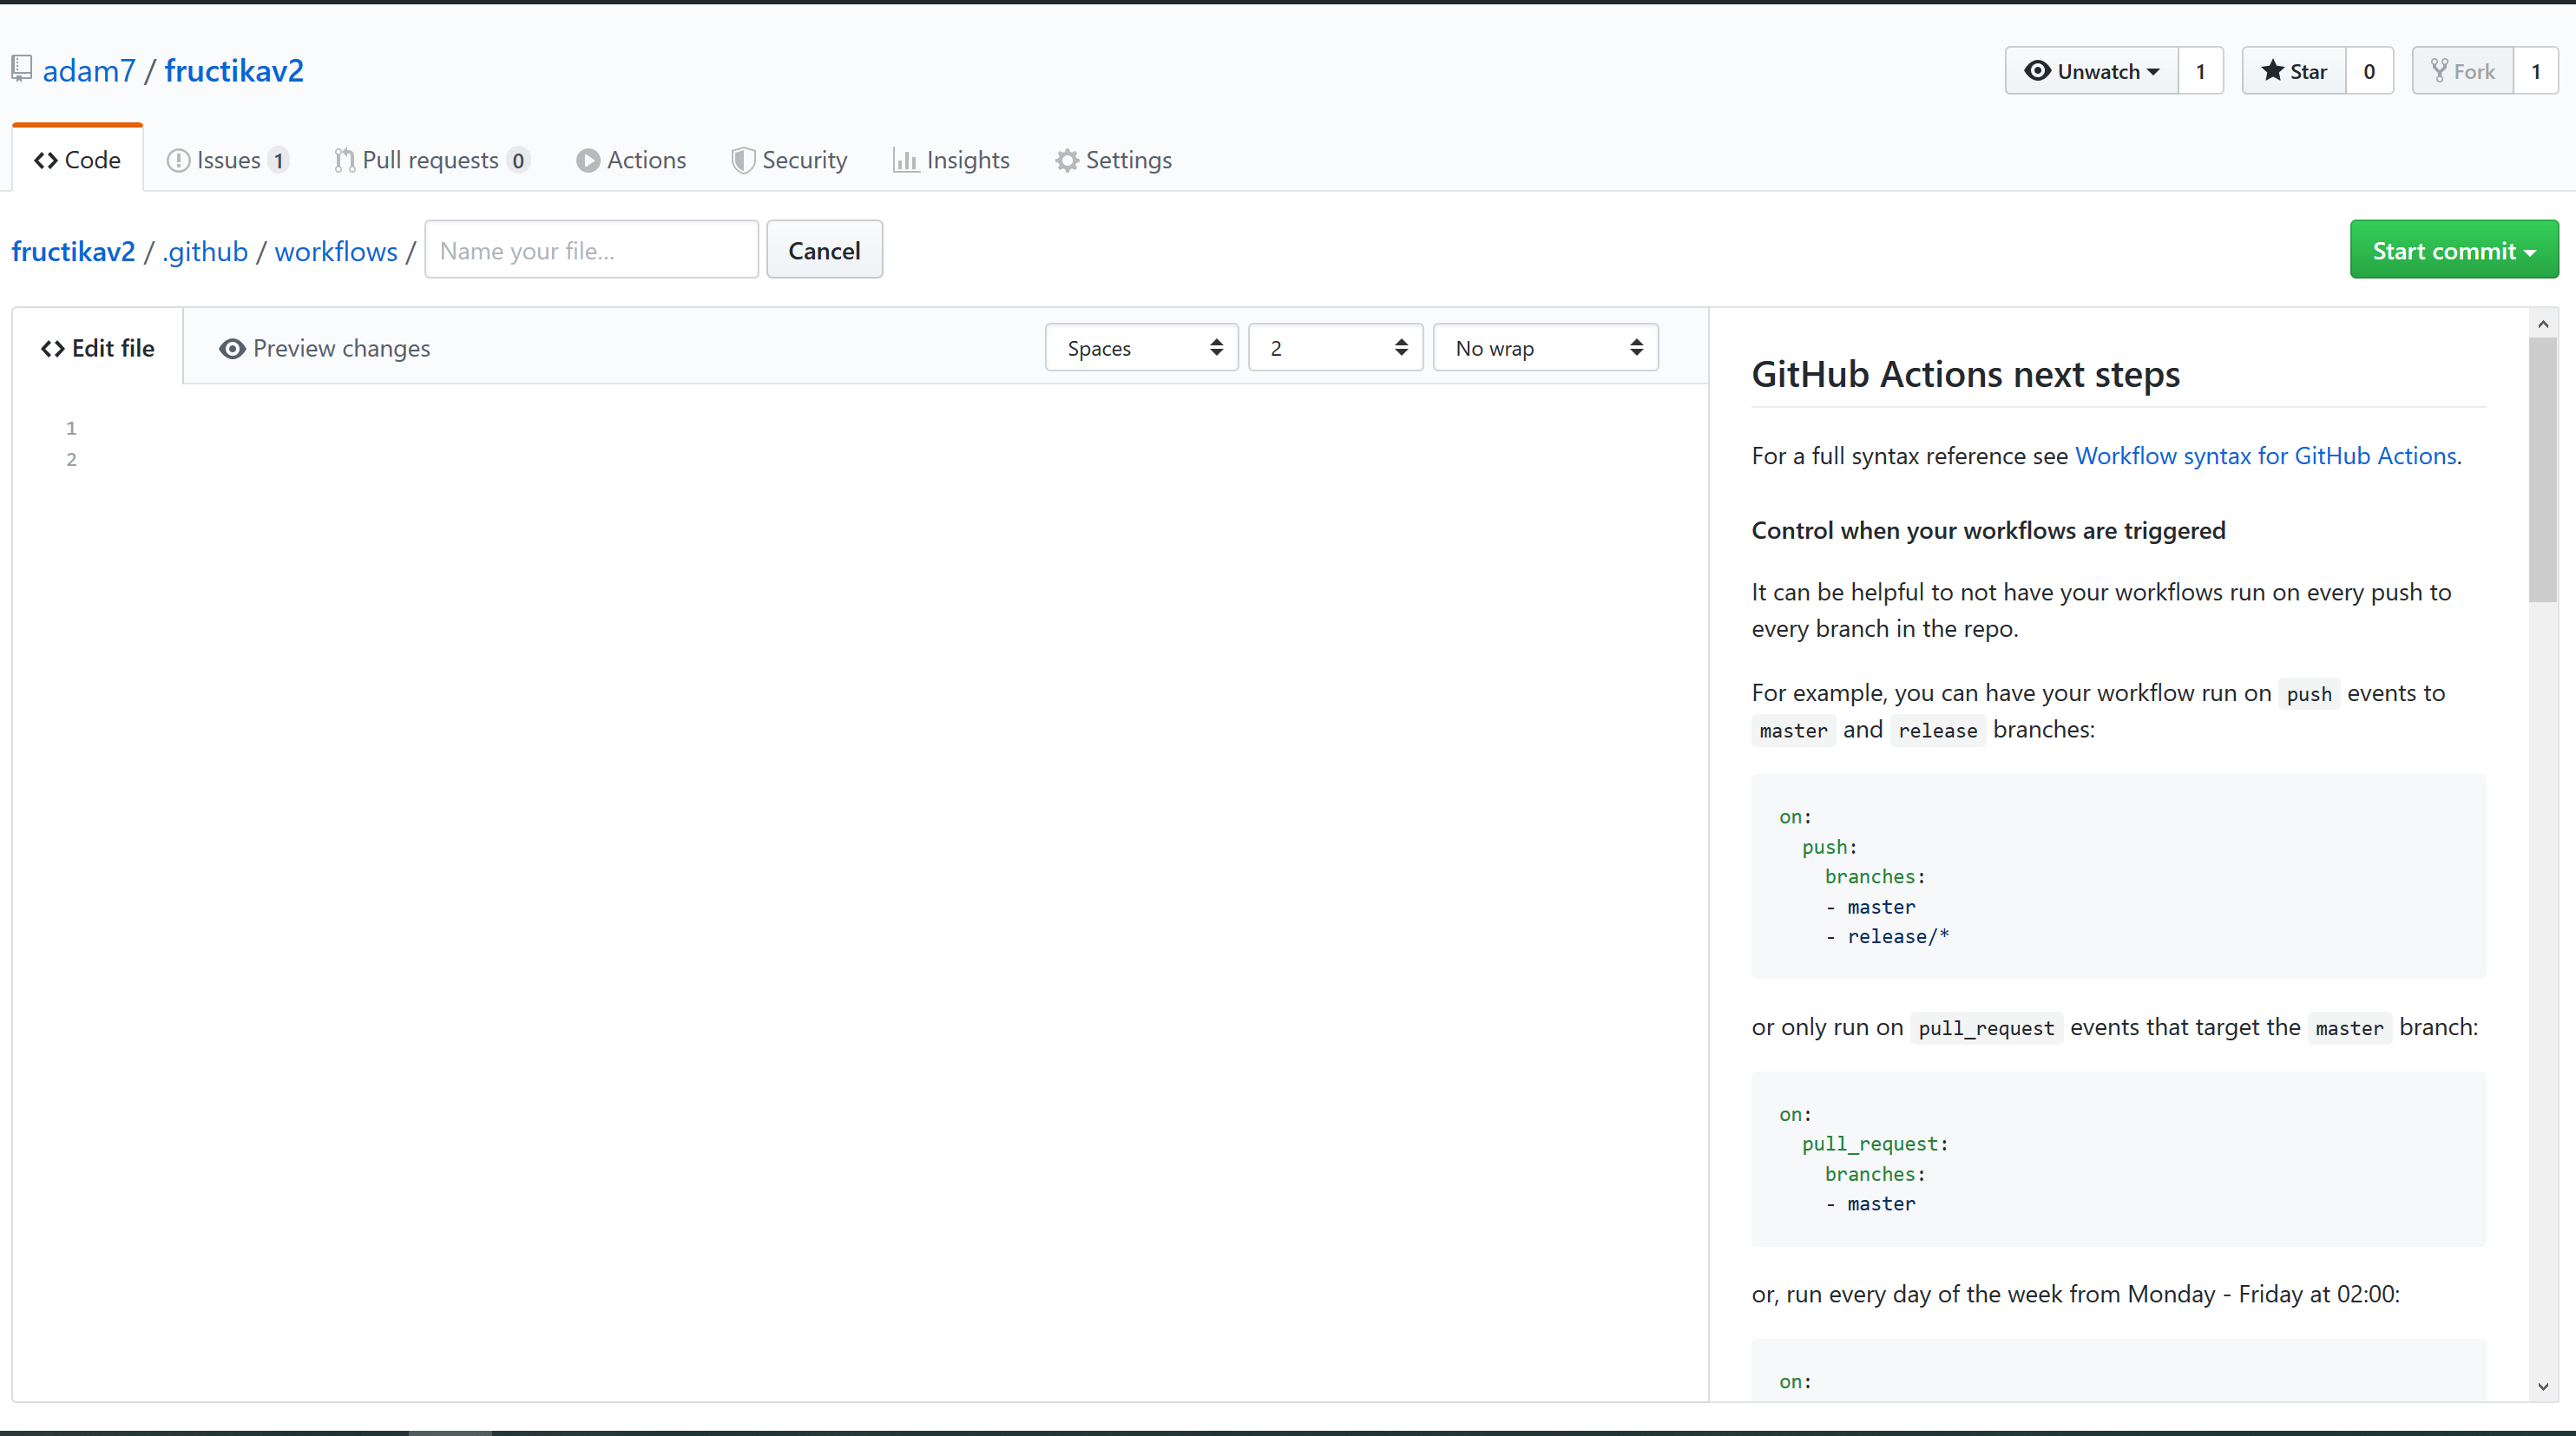
As you can see in the screenshot above the yaml we are creating is going to live in the .github/workflows/ folder of our repository so let's start by giving the file a name, I named mine build-and-test.yml, and specifying when it's going to be run:
# Define the trigger for our workflow
on: push
This workflow will now be triggered on every push to the repository. As you'll remember from the quick introduction a Workflow is made up of one more Jobs so next we'll define our first Job and what kind of VM we'd like it to run on.
on: push
# Define the Jobs we want to run as part of this Workflow
jobs:
  # Define our build and test Job
  build-and-test:
    # We want to run this Job on an Ubuntu VM
    runs-on: ubuntu-latest
Now we have a Job running on an Ubuntu VM we can define some Steps to run as a part of that Job. The first thing we're going to need to do is to checkout the source code onto the VM, fortunately there's a standard Action we can use to do that.
on: push
jobs:
  build-and-test:
    runs-on: ubuntu-latest
    # Define the Steps to run as part of this Job
    steps:
    # Checkout the repository code using V1 of the standard checkout Action
    - uses: actions/checkout@v1
And now we're ready to build our code :) To do that we need to make sure the VM that our Job is running on has Flutter installed, unfortunately there is no standard for that but fortunately the community can share and search for Actions via the GitHub Marketplace.
I found the Flutter action created by the awesome Alif Rachmawadi.

Using this action, along with the standard Java Action, will give us a VM that has the source and a full Flutter install ready to build.
on: push
jobs:
  build-and-test:
    runs-on: ubuntu-latest
    steps:
    - uses: actions/checkout@v1
    # Use the standard Java Action to setup Java
    - uses: actions/setup-java@v1
      with:
      	# we want the latest Java 12
        java-version: '12.x'
    # Use the community Action to install Flutter
    - uses: subosito/flutter-action@v1
      with:
      	# we want the stable channel
        channel: 'stable'
The with keyword provides a way to pass parameters to an Action. For the Step where we install Flutter we can use it to choose either a channel like we do above, a version like so:
- uses: subosito/flutter-action@v1
  with:
    flutter-version: '1.7.x'
Or a combination of the two:
- uses: subosito/flutter-action@v1
  with:
    flutter-version: '1.7.x'
    channel: 'dev'
For now though we'll stick to the stable channel and move onto building our code. Since a Step is capable of running any CLI command we can just use the Flutter CLI to do that.
on: push
jobs:
  build-and-test:
    runs-on: ubuntu-latest
    steps:
    - uses: actions/checkout@v1
    - uses: actions/setup-java@v1
      with:
        java-version: '12.x'
    - uses: subosito/flutter-action@v1
      with:
        channel: 'stable'
    # Get flutter packages
    - run: flutter pub get
    # Build :D
    - run: flutter build aot
We now have a Workflow capable of building my Flutter app and commiting this file will trigger that Workflow. When we navigate to the Actions tab we'll see the the Workflow we just created.
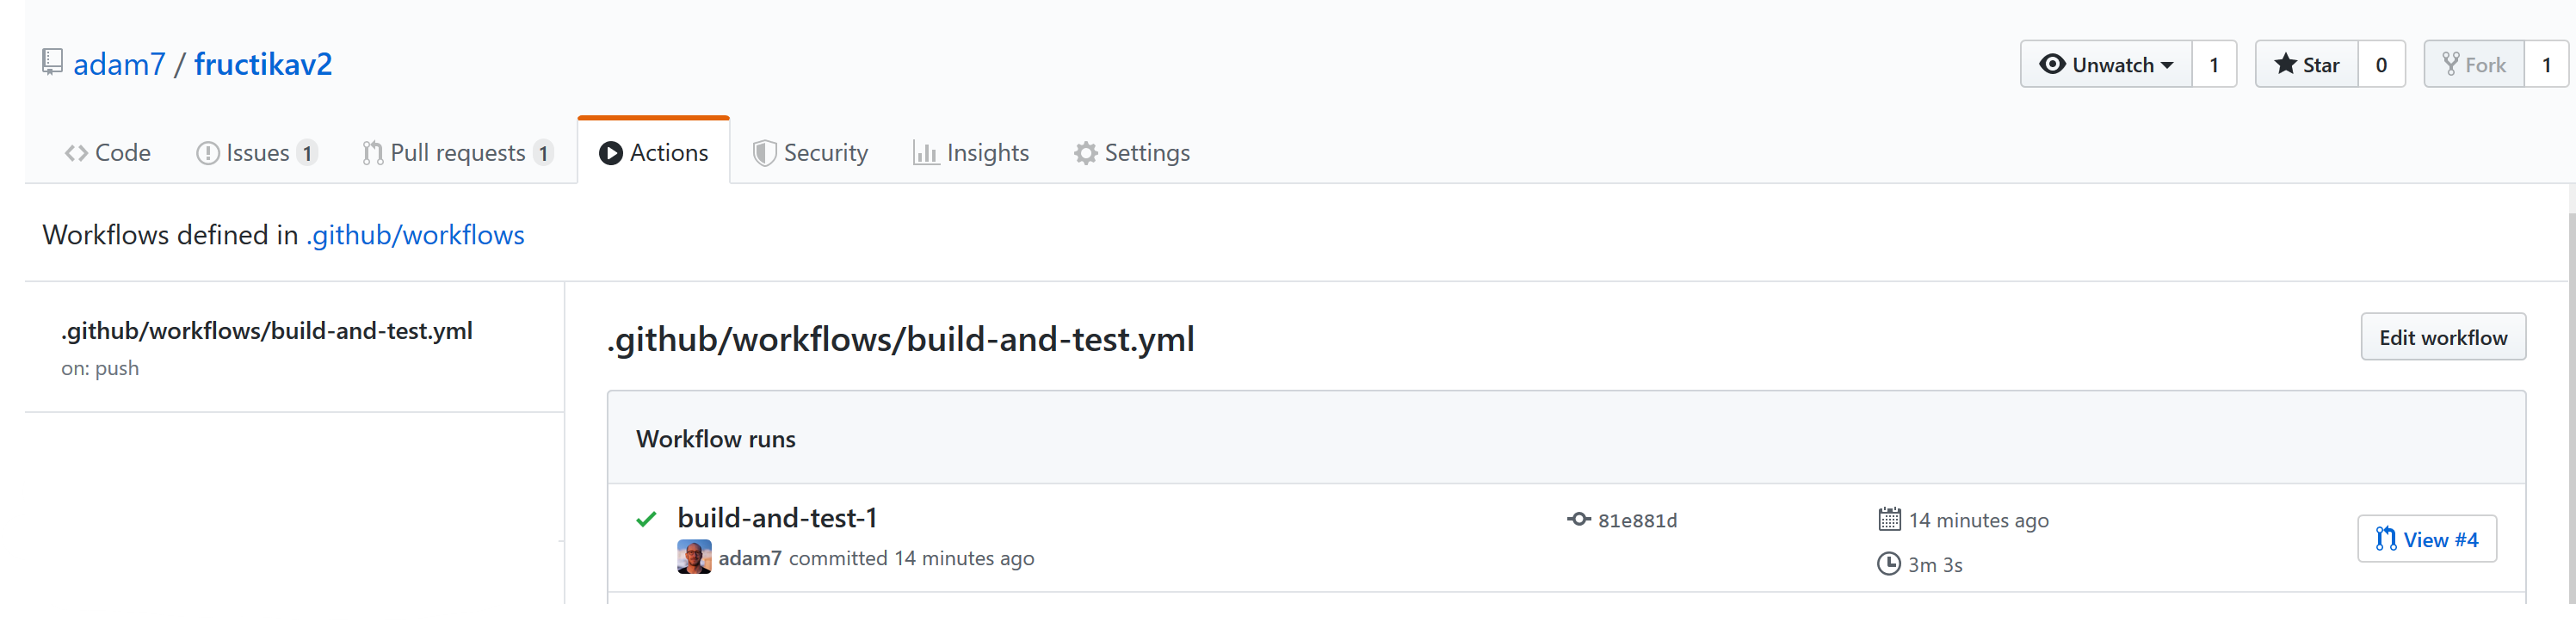
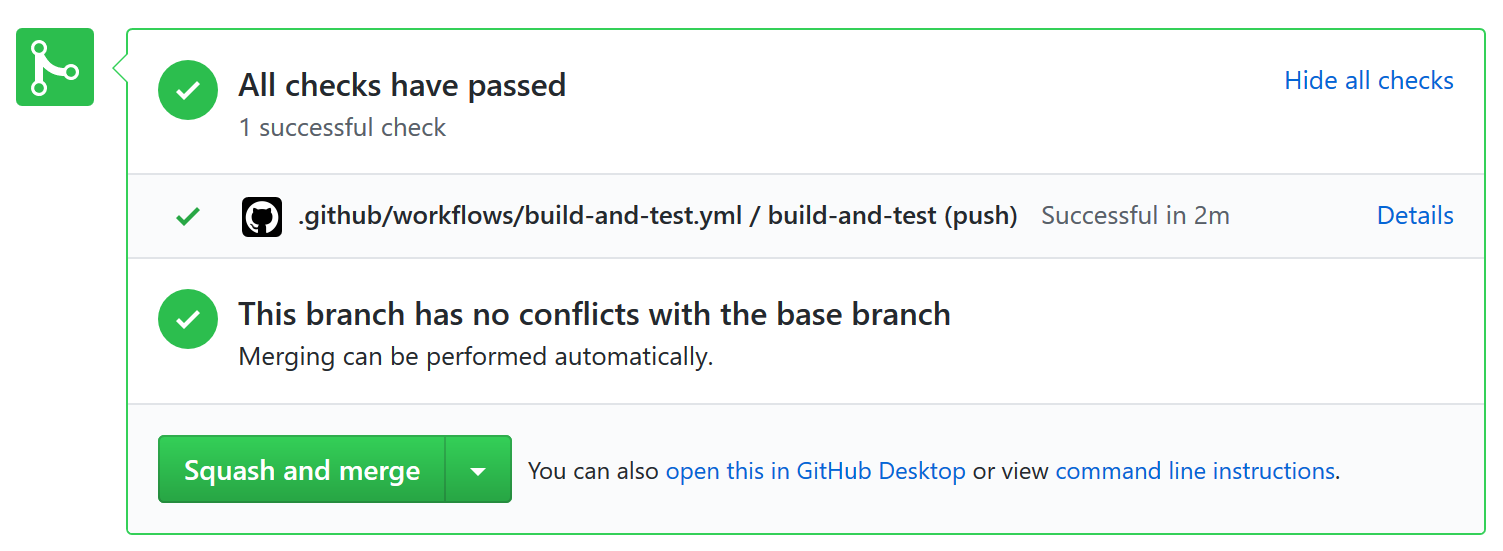
In the left hand column is the filename of the Workflow and on the right hand all the runs of that Workflow, clicking on one of the runs will take us to the details of that run. The Workflow can also be seen as a Check whenever we create a Pull Request.
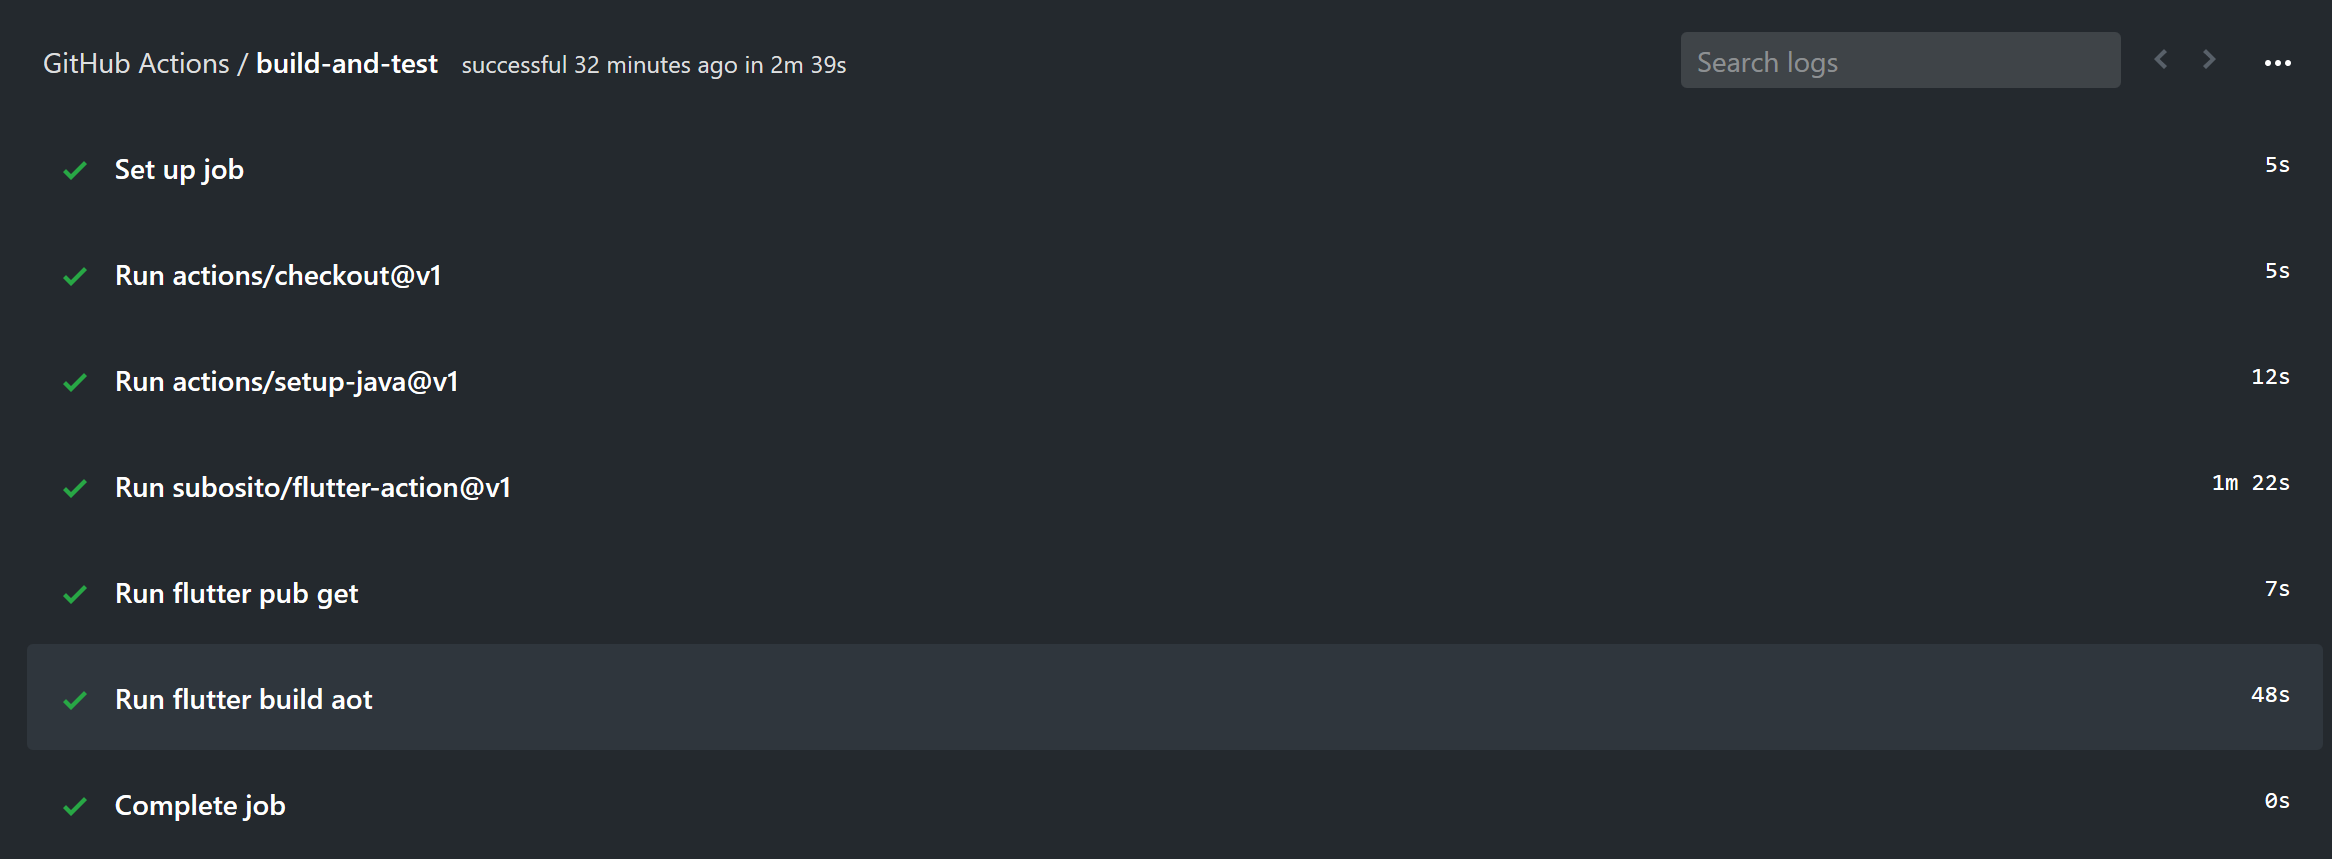
If we take a look at the details of our Workflow run we'll see that it has walked through each of the steps we defined above, setting up our VM installing the dependencies and then building our app.
Run static analysis and tests
Now that we have the code building let's make sure that it conforms to the the Flutter linting rules and that all our tests run. We can do both of these with simple CLI commands so all we have to do is add those two commands as Steps.
on: push
jobs:
  build-and-test:
    runs-on: ubuntu-latest
    steps:
    - uses: actions/checkout@v1
    - uses: actions/setup-java@v1
      with:
        java-version: '12.x'
    - uses: subosito/flutter-action@v1
      with:
        channel: 'stable'
    - run: flutter pub get
    - run: flutter build aot
    # Analyze our Dart code
    - run: flutter analyze
    # Run our tests
    - run: flutter test
Once we commit these changes and our Workflow run completes we now have static analysis and tests running as part of our CI as we can see in the logs.
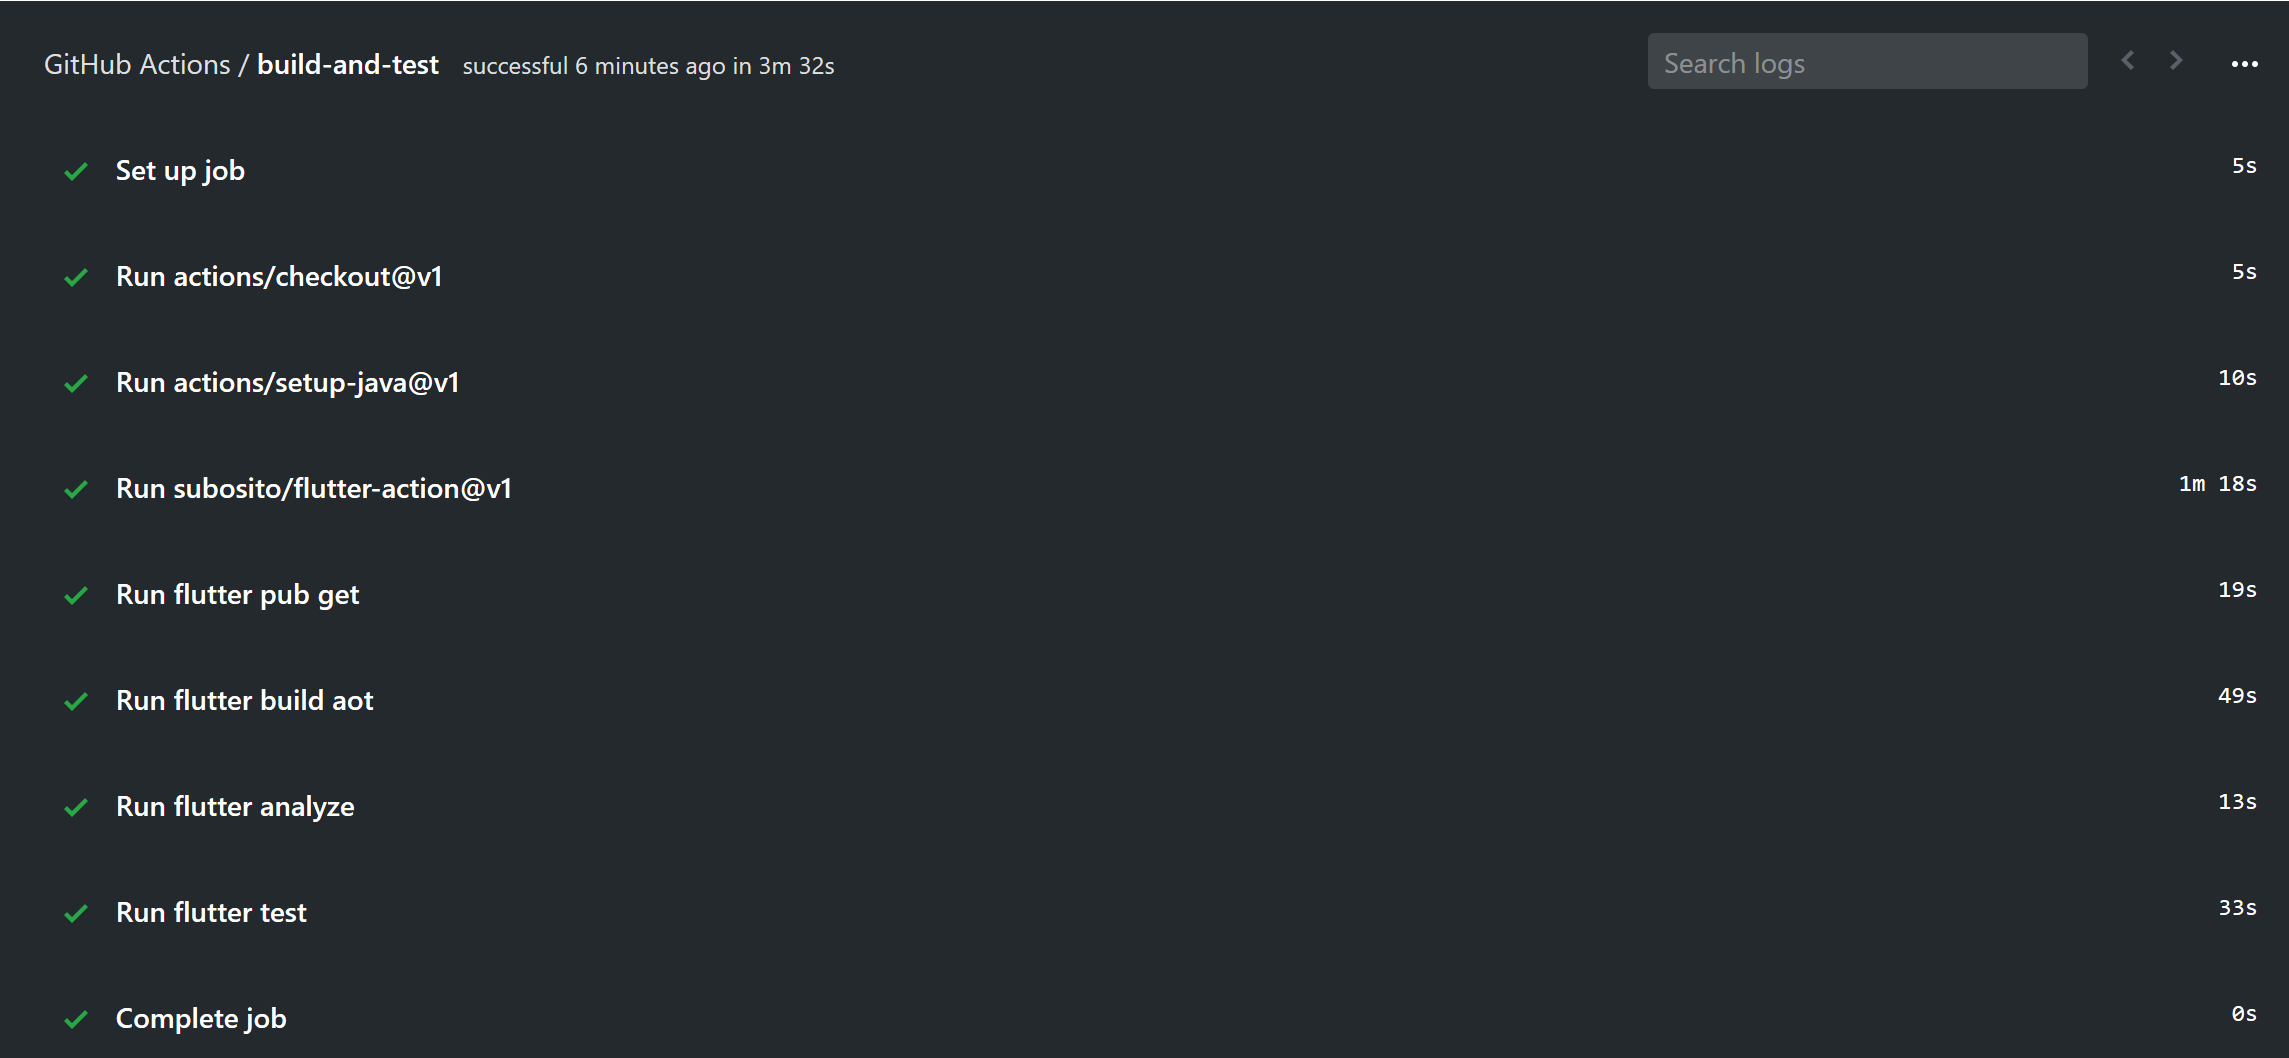
If you click on any one of the Steps in the logs it will expand to show the output as that step was run, this is particularly useful when a step fails and you want to see the details of what went wrong.
Final thoughts
I really enjoyed getting started with GitHub Actions, in fact I enjoyed it so much that I went on to build out my CI to include code coverage and testing across multiple operating systems. I will write more about that in a follow up article if anyone's interested.
For those who are brand new to CI or don't want to wait for access to the closed beta though I would recommend that you choose a more mature mobile focused platform like Bitrise. I'm obviously slightly biased because I used to work there but in my opinion the visual workflow editor and awesome getting started guides make the onboarding a little quicker and easier.
